Working with Attachments
A request can carry files in two completely separate places, and it's worth knowing which one you want before you start:
- The Attachments tab holds a single working file tied to the request record — a permission form, a curator's note, a scan of a paper call slip. It lives in the Aeon database alongside the request and is for staff reference. Patrons never see it.
- The Upload Item button in the request toolbar delivers the finished scan for a photoduplication request — the file the patron downloads from their Aeon web account. It's saved to your site's web delivery folder, not the request record, and it only appears for photoduplication requests.
Most staff use the Attachments tab occasionally and Upload Item routinely if they handle digitization. The two don't interact: replacing the attachment doesn't touch the delivered scan, and uploading a delivery item doesn't add anything to the Attachments tab.
Viewing and downloading either file is open to anyone who can open the request. Adding, replacing, or removing a file — in the tab or via Upload Item — needs the Edit level of the Requests capability. If your role is view-only, you'll see the files but no Add, Replace, Remove, or Upload Item controls.
The Attachments tab: a working file on the request
A request holds one attachment at a time. Adding a second file replaces the first — Aeon asks you to confirm before it does.
Allowed file types: PDF, DOC, DOCX, and images (PNG, JPG, JPEG, GIF, BMP, TIF, TIFF, WEBP). Maximum size: 25 MB.
Add an attachment
- Open the request (for example, request #12345) and select the Attachments tab.
- The card reads No attachment with a hint to "Click Add to attach a file to this request."
- Click Add (top-right of the card).
- Pick a file in your operating system's file dialog.
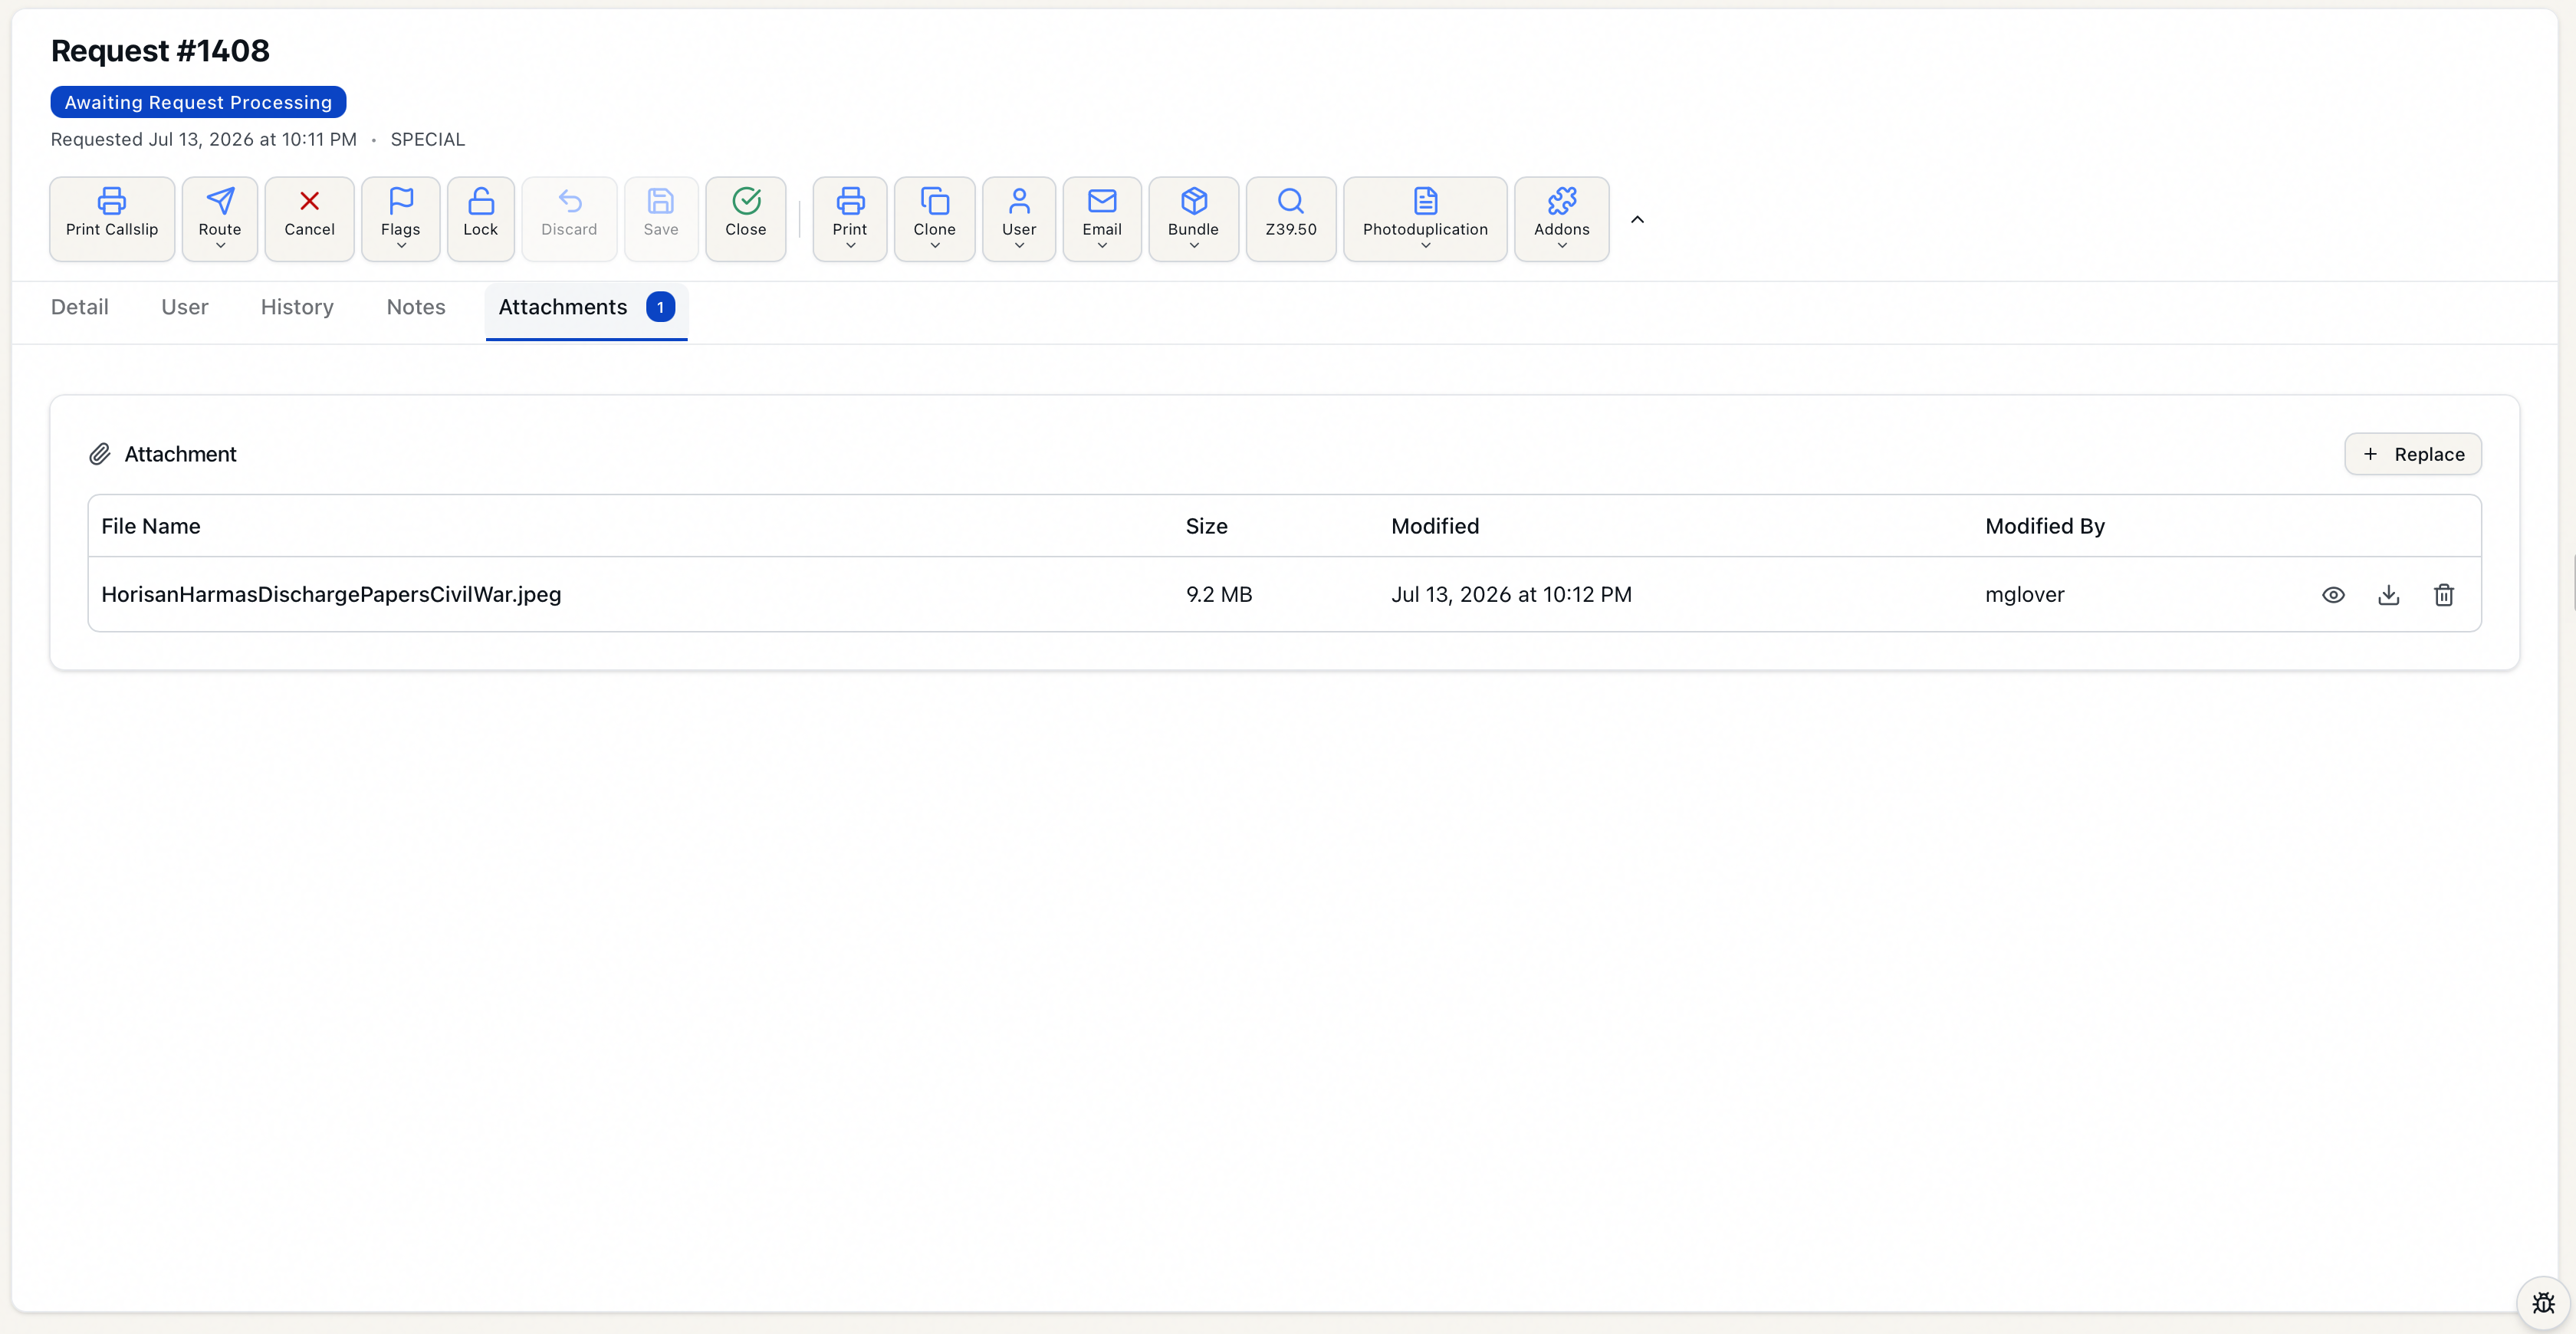
- Aeon uploads it and shows a brief Attachment uploaded confirmation. The file now appears in the table with its name, size, the date it was modified, and who modified it.
Uploading also writes a File attached. entry to the request's history, so the action is auditable on the Request History tab.
View an attachment
For attachments Aeon can render in the browser — PDFs and images (PNG, JPG, JPEG, GIF, BMP, WEBP) — a View (eye) icon appears at the start of the row's actions, so you can check the file without downloading it.
-
On the Attachments tab, click the eye icon on the file's row.
-
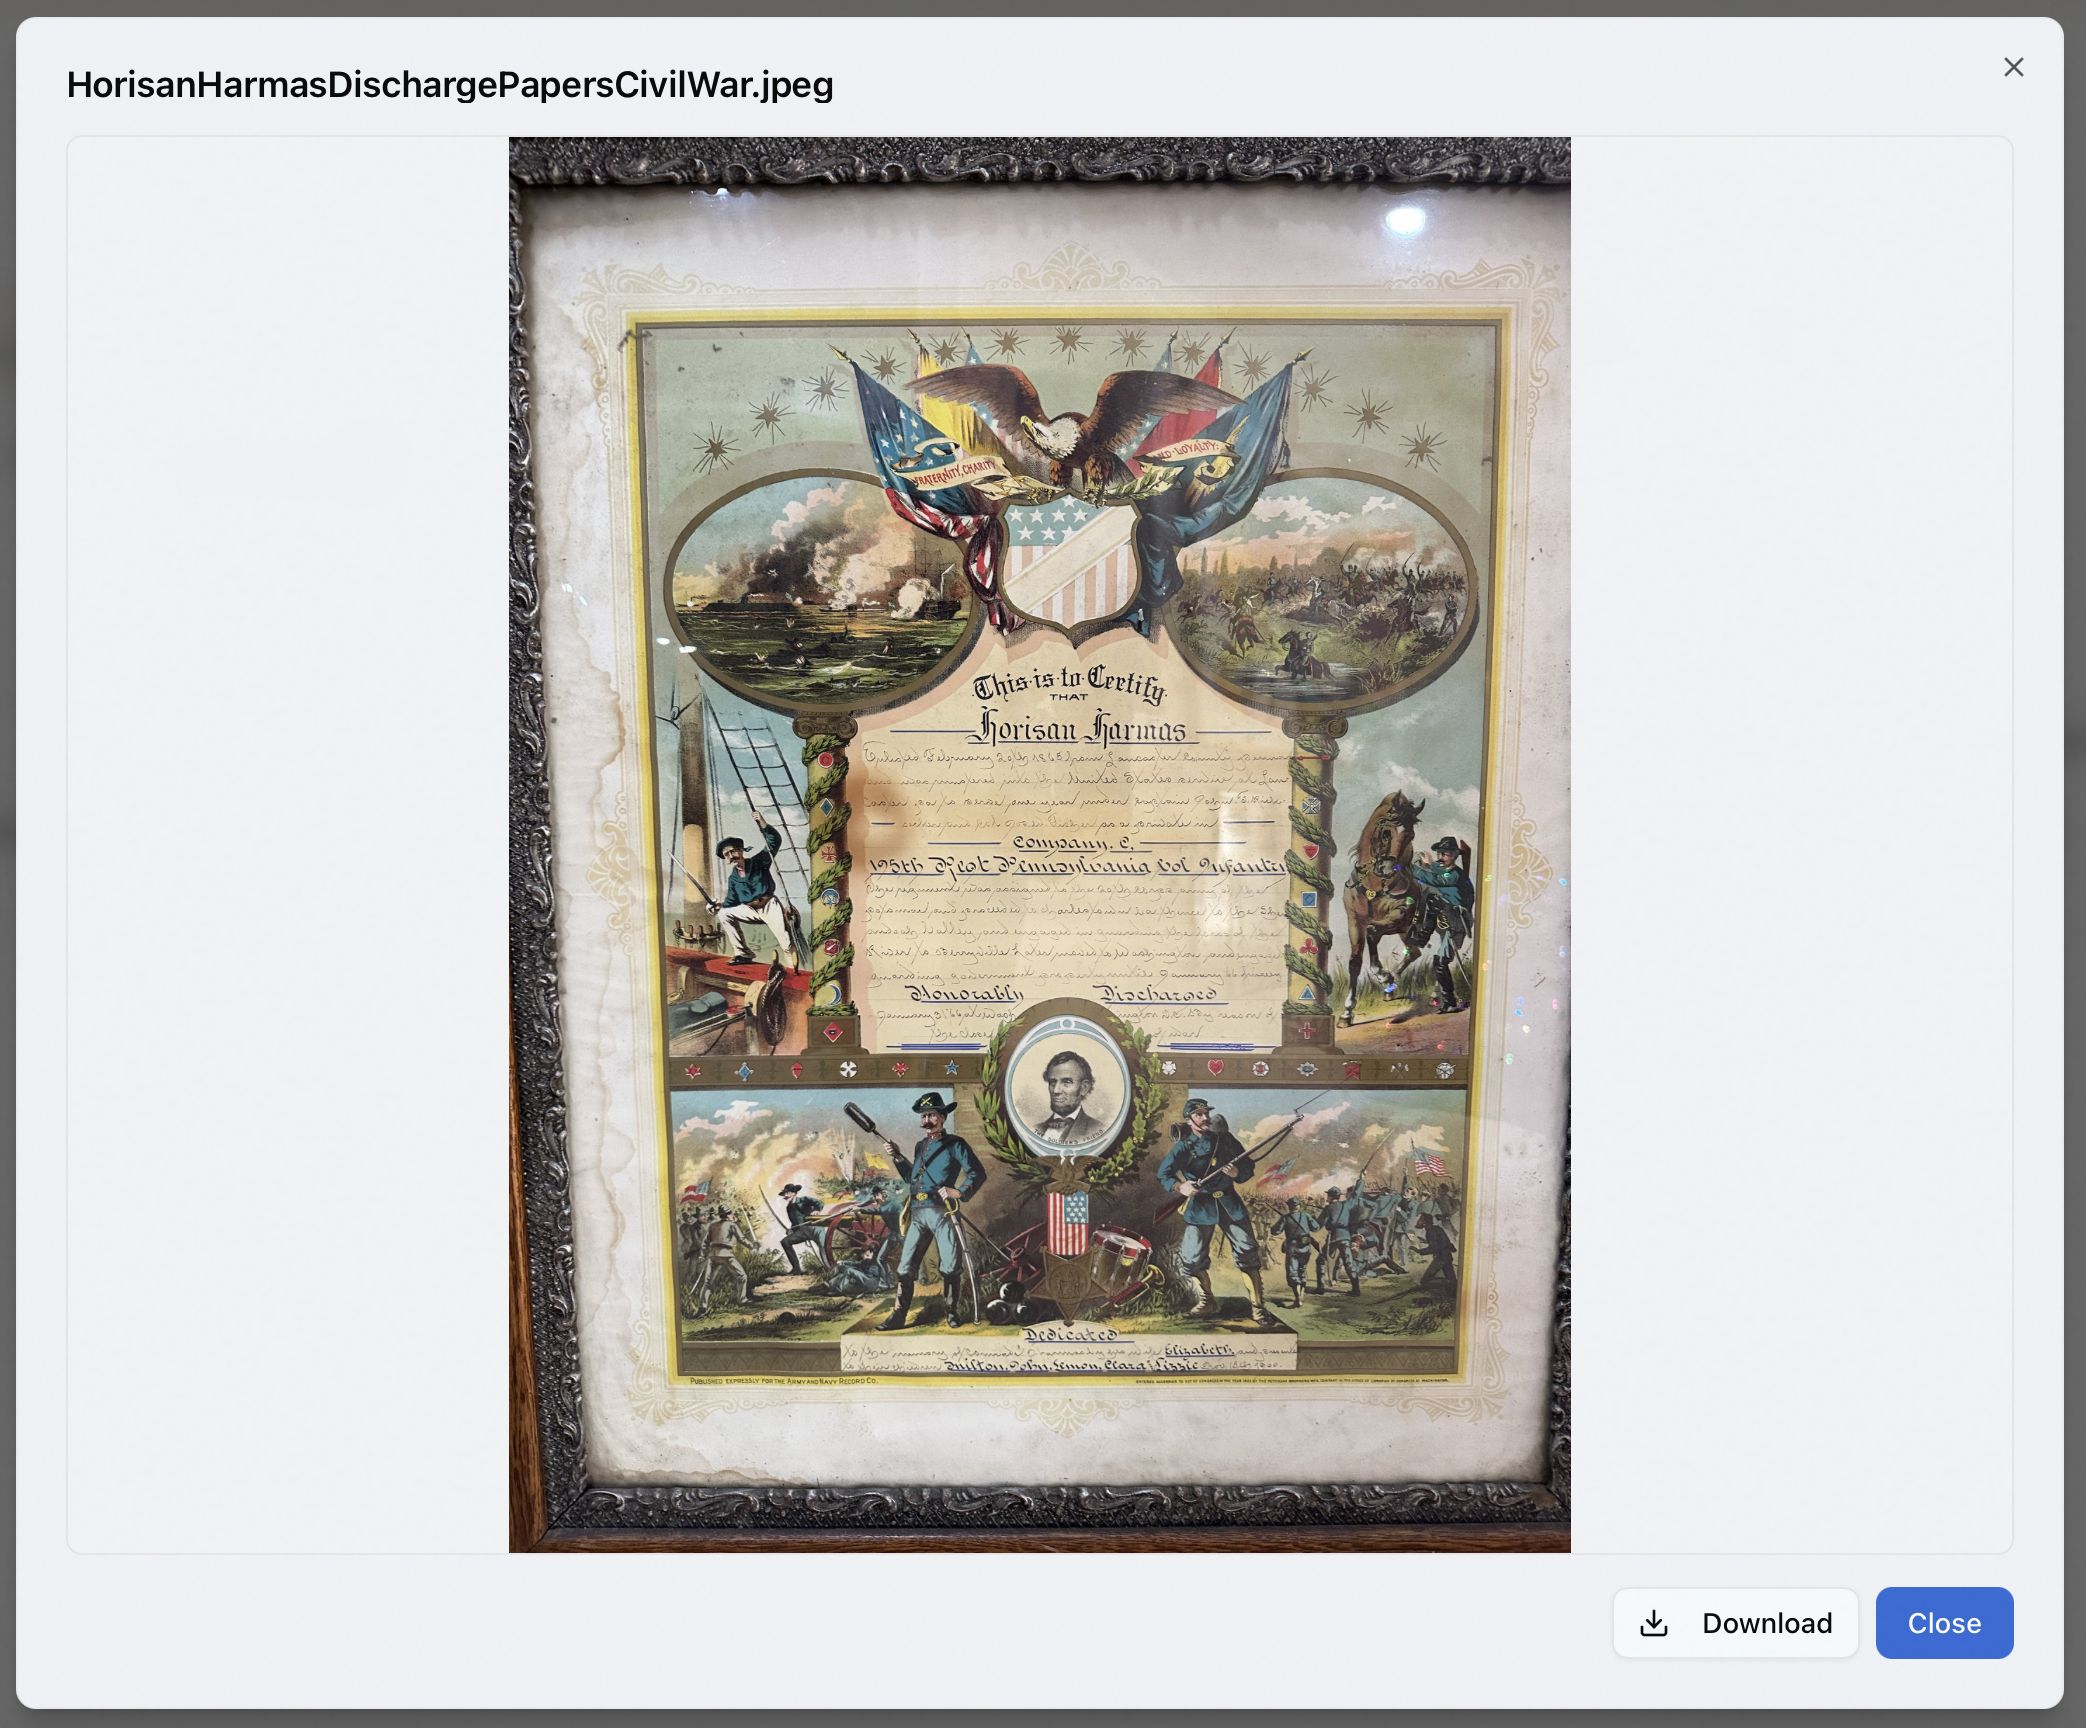
The attachment opens in a preview dialog — a PDF in an inline viewer, an image shown full size — with the file name across the top.
-
Click Download in the dialog to save a copy, or Close to dismiss it.
TIFF files and Office documents (DOC, DOCX) can't be shown in the browser, so they have no View icon — download them instead.
Download an attachment
- On the Attachments tab, find the file in the table.
- Click the download icon in the middle of the row's actions.
The file downloads to your computer — this works for every attachment type. (For a PDF or image you don't have to download it first; use View above to preview it in place.)
Replace an attachment
Because a request keeps only one attachment, uploading a new file over an existing one is a replacement.
-
On the Attachments tab, click Replace (the button label changes from Add to Replace once a file is present).
-
Choose the new file.
-
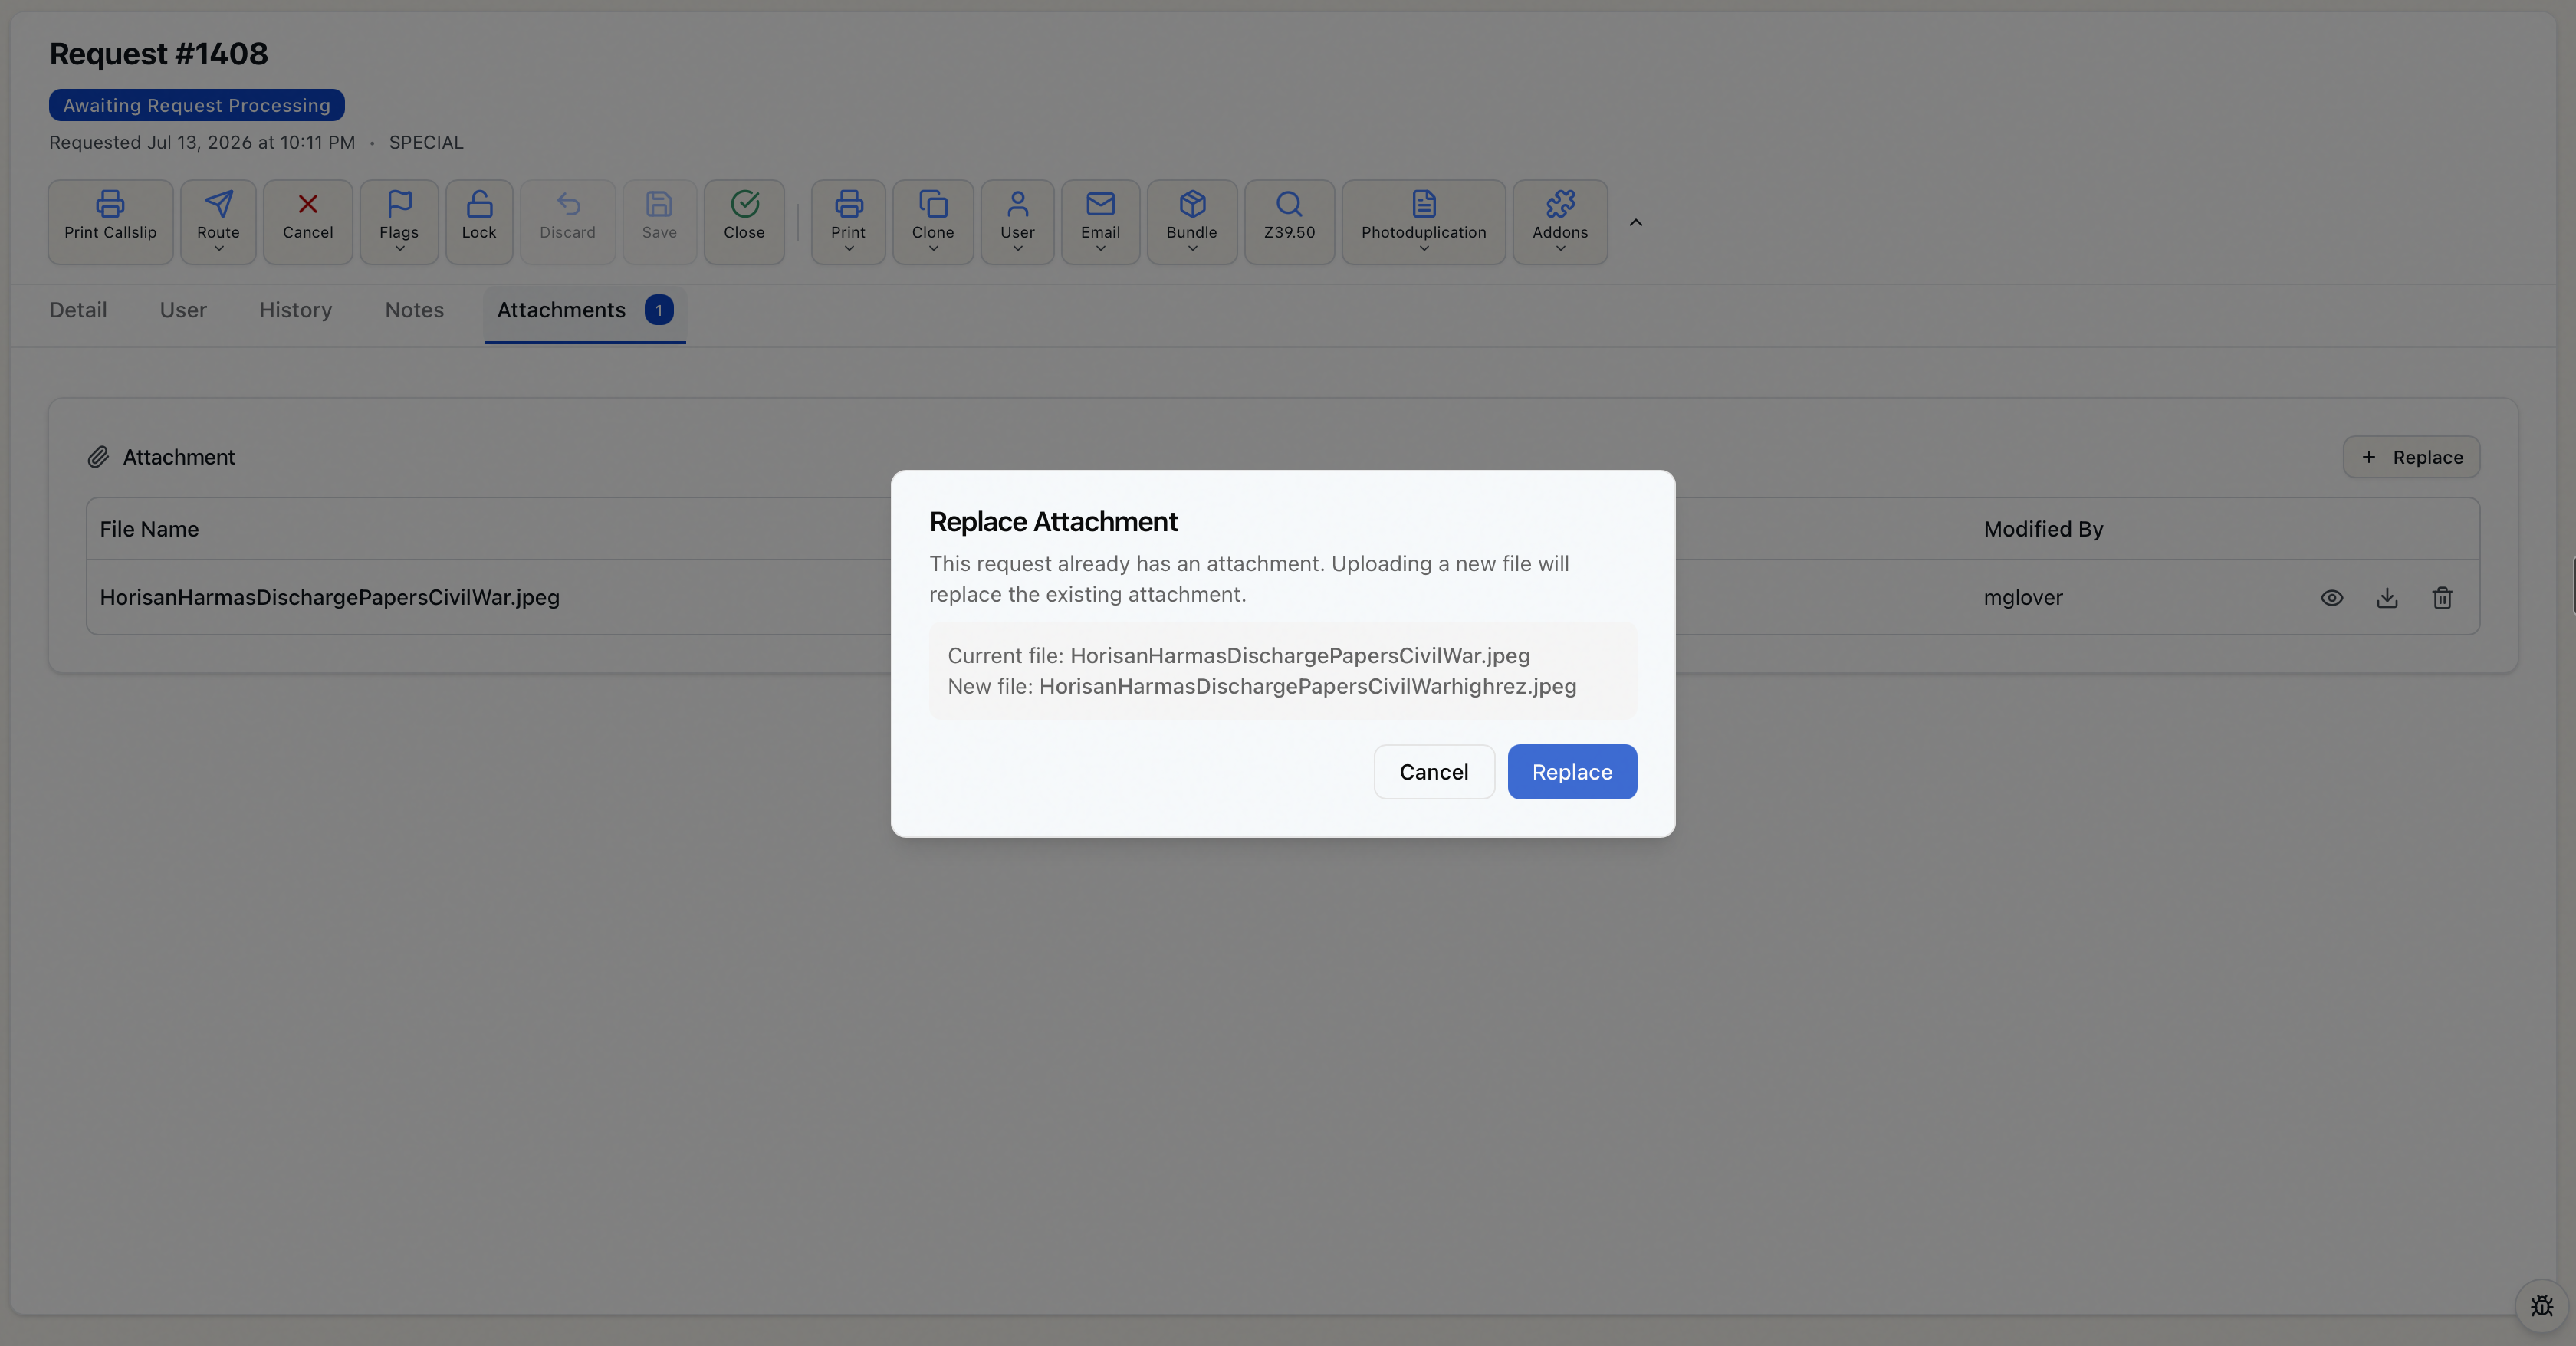
In the Replace Attachment dialog, Aeon shows the Current file and the New file side by side and warns that "Uploading a new file will replace the existing attachment."
-
Click Replace to confirm, or Cancel to keep the existing file.
Remove an attachment
- On the Attachments tab, click the trash icon at the end of the file's row.
- In the Delete Attachment dialog — "Are you sure you want to delete
permission-form.pdf?" — click Delete.
The dialog spells it out: "This action cannot be undone." There's no recycle bin — once deleted, the file is gone, and a File detached. entry is recorded in the request's history. Download a copy first if you might need it again.
Upload Item: the delivery scan for a photoduplication request
When you finish digitizing material, Upload Item is how the scan reaches the patron. Aeon renames the file to match the request number, stores it in your site's web delivery folder, and the patron downloads it from their Aeon web account.
Upload Item shows in the toolbar only when the request is a photoduplication request — that is, it has a photoduplication status, or its status is In Photoduplication. On a standard loan/reading-room request, you won't see the button at all. If you expected it and it's missing, the request probably hasn't been initialized for photoduplication yet — see Photoduplication Initialization under Daily Work > Billing.
Allowed file types: PDF, PNG, JPG, JPEG, TIF, TIFF. Maximum size: 100 MB. (Note this is a narrower, image-and-PDF-only set than the Attachments tab — no Office documents.)
Upload the scan
-
Open the photoduplication request.
-
In the toolbar, click Upload Item.

-
Choose the scanned file in your operating system's file dialog.
-
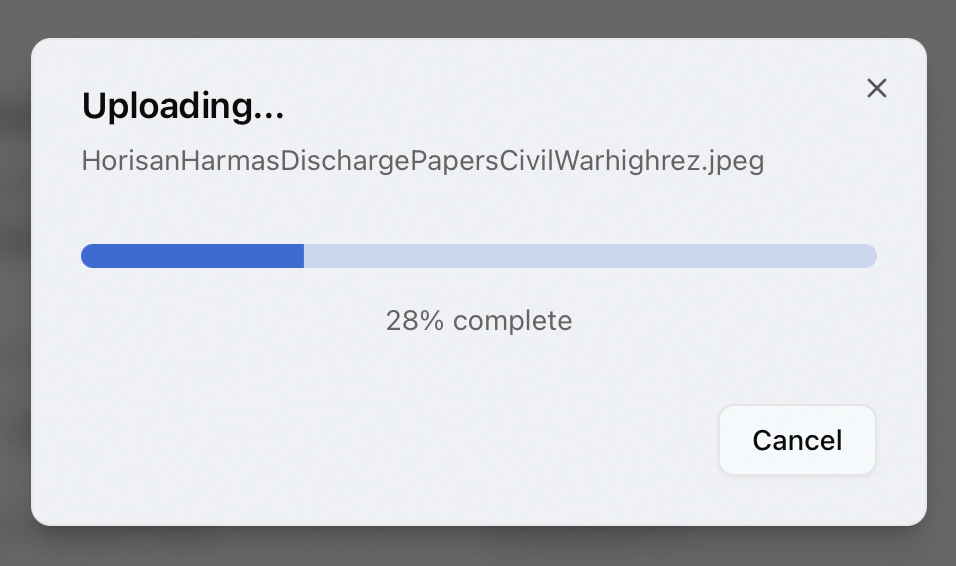
An Uploading… dialog shows a live progress bar with the percentage complete. You can click Cancel to abort a large upload mid-transfer.
-
When it finishes, the status bar reports Item uploaded successfully.
Aeon records an Item uploaded. entry in the request's history with your username and the time.
Replace an already-delivered scan
If a delivery file already exists for the request, Aeon catches it before overwriting:
- Click Upload Item and choose the new file.
- The Replace existing file? dialog appears. It lists the existing delivered item — file name, size, and (when known) when it was uploaded and by whom — and tells you that uploading the new file will replace it.
- Click Replace to confirm, or Cancel to keep the current one.
The new scan takes the existing one's place in the delivery folder.
Like the Attachments tab, web delivery keeps a single file per request — uploading again replaces what's there rather than adding a second copy. The file is named after the request number, so request #12345 is delivered as 12345.pdf (or the matching image extension).
If Upload Item reports an error
A few uploads are rejected before they reach the patron:
- Invalid file type — the file isn't one of PDF, PNG, JPG, JPEG, TIF, or TIFF.
- File exceeds the 100MB size limit.
- File content does not match the file extension — the file was renamed to look like an allowed type but isn't actually that format. Re-export it from the original source.
Aeon shows the reason in an Upload Error dialog; click OK to dismiss it. Nothing is uploaded, so an existing delivery file is left untouched.